If you have large amount of audio library, one of the essential tools you may need is an FTP (File Transfer Protocol) client to manage your massive size of files. While you can still use Radiolize media manager on your browser, using an FTP client may save you time. In this tutorial, we will check how to upload files to your radio station with FTP clients.
So what is FTP?
FTP, short for “File Transfer Protocol”, is a communication tool utilized for transferring files between computers. Whether one needs to upload or download files from one computer to another, FTP is the go-to protocol for enabling seamless transfer over the internet. With this protocol, users can effortlessly send or receive files from one server to another.
FileZilla is a popular FTP client that is easy to use and free. We will guide you on how to install FileZilla and connect to your radio station.
Step 1
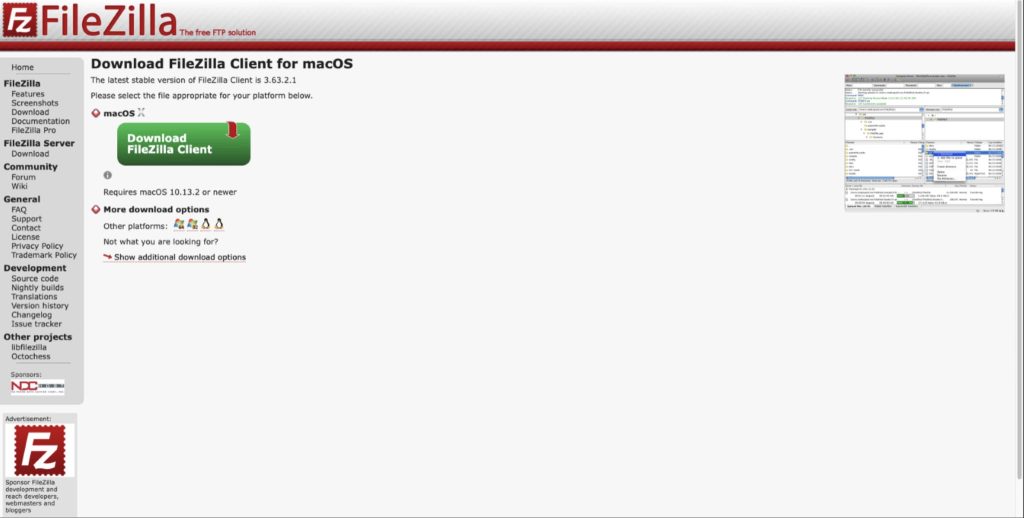
The first step is to download FileZilla. You can download it for free from the official website: https://filezilla-project.org/download.php?type=client. Choose the version that is compatible with your operating system, then click the download button.
Once the download is complete, run the installer and follow the prompts to install FileZilla on your computer. The installation process is straightforward, and you can accept the default settings.
Step 2
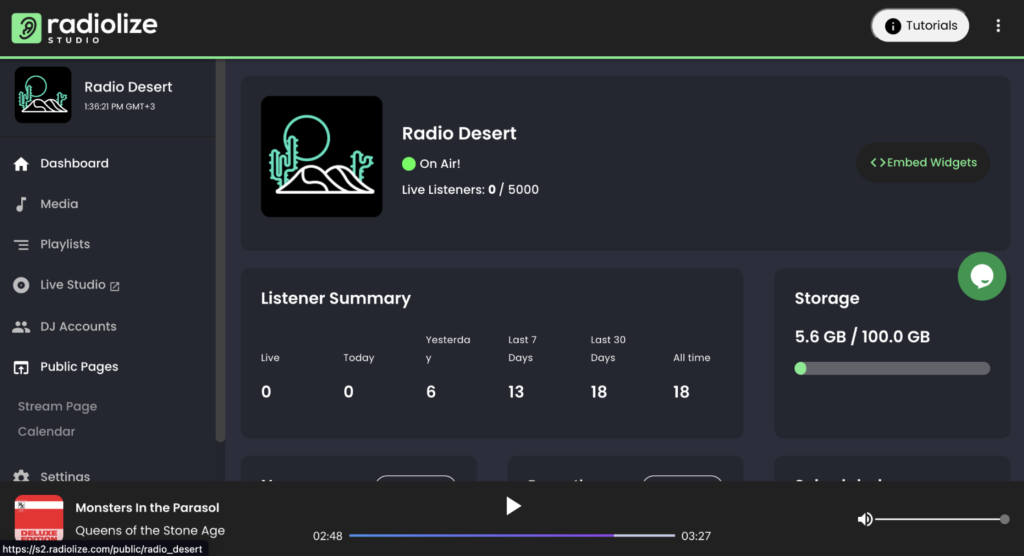
After installing FileZilla, the next step is to connect it to your radio station by accessing the Radiolize Dashboard. To do this, log in to the user dashboard using your email address and password > click on my stations button > click on the studio button and access your Radiolize Broadcaster Studio.
Step 3
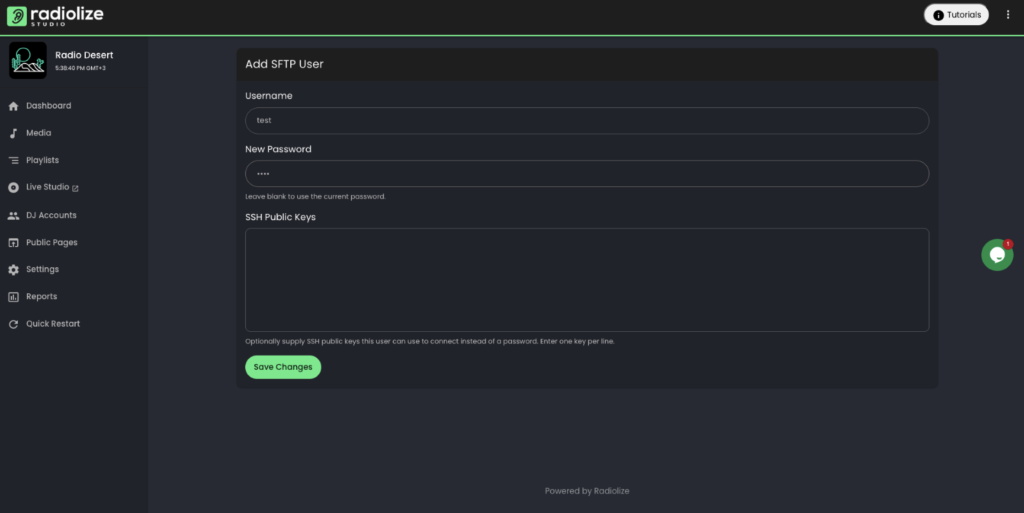
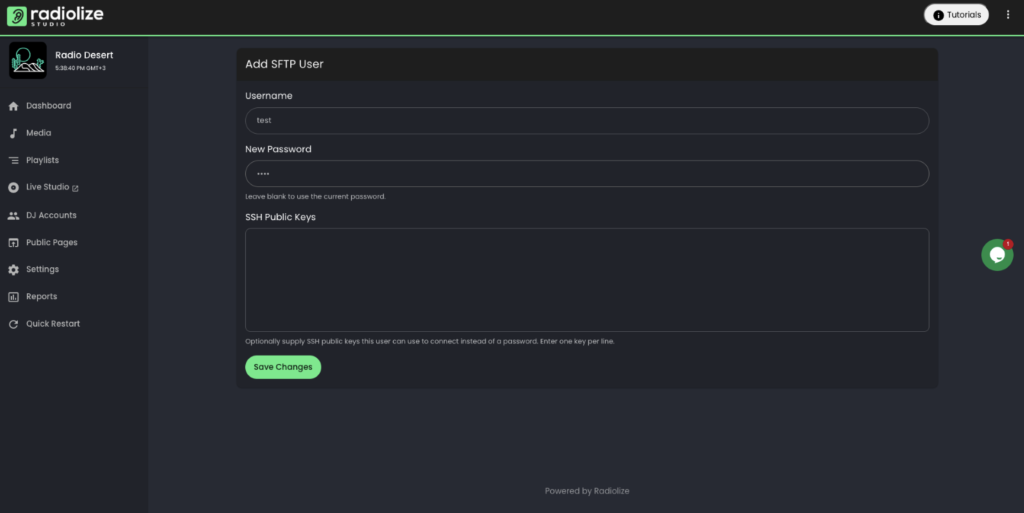
Now we should create our SFTP user. On Radiolize Broadcaster Studio click Settings > click on SFTP > click on Add SFTP User. I created a username: test password: test
You can do anything else.
Step 4
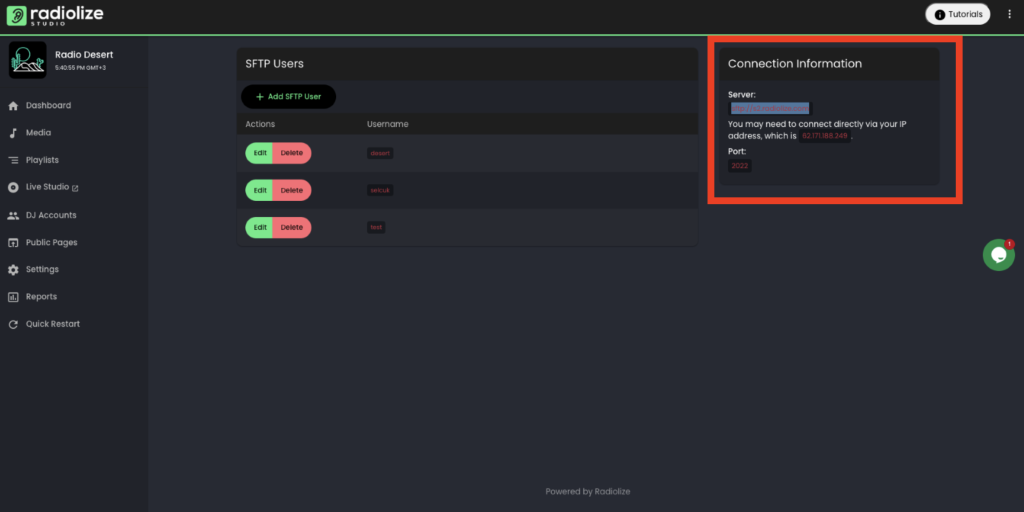
Go to SFTP section for connection information.
In my server my host’s name is sftp://s2.radiolize.com
My port is: 2022
Step 5
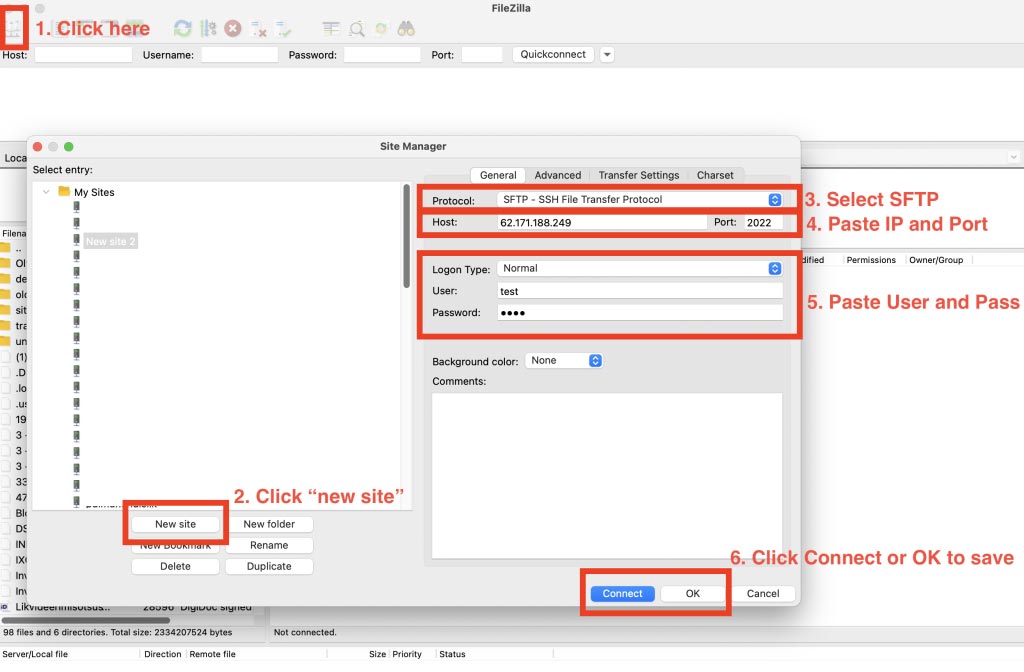
Copy the Host information and paste it into the FileZilla host option. Username and Password should be test in my setup. Also, copy the port information and paste in into FileZilla host option. After that click on the Quickconnect button.
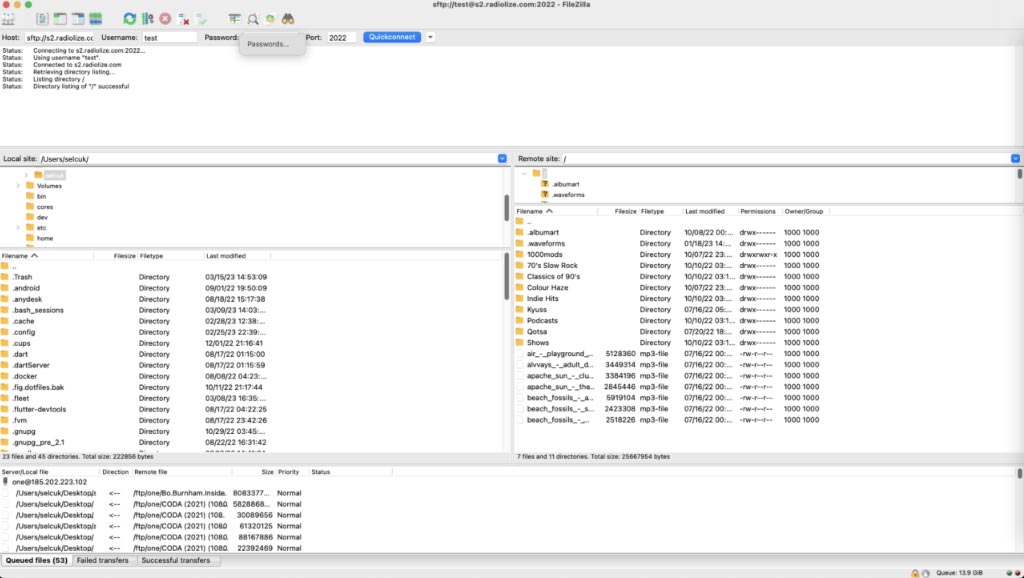
That’s it! Then you can drag and drop your media files and create folders inside your media library.
If Quickconnect doesn’t work, follow the instructions below.
